eDrone API/SDK 및 예제코드 다운로드/빌드/실행 방법
API/SDK & 예제 코드 다운로드
eDrone API/SDK 코드와 예제 코드는 git project로 공개되어 있으며 아래 주소에서 다운로드 가능하다.
eDrone project 주소: https://github.com/sooyoungmoon/eDrone
터미널에서 아래 명령을 실행한다.
# eDrone API/SDK/IDE 및 예제 코드 복제
# 코드를 다운 받을 디렉토리로 이동한 후 git clone 명령어 호출

$ git clone https://github.com/sooyoungmoon/eDrone

# 코드 다운로드 위치로 이동
$ cd src

# catkin workspace 내 src 디렉토리에 API/SDK 코드 복사
$ cp -r ./eDrone ~/catkin_ws/src

# catkin workspace에 src 디렉토리에 응용 예제 코드 복사
$ cp -r ./examples ~/catkin_ws/src

# catkin workspace에 template files 복사
$ cp -r ./edrone_mc_support ~/catkin_ws
빌드
응용 예제를 실행하려면 mavlink 패키지, mavros_msgs & mavros 패키지, eDrone msgs & eDrone lib 패키지들이 먼저 빌드되어야 하며 응용 예제를 빌드하면 패키지들 간 빌드 의존 관계에 의해 위 패키지들이 순서대로 빌드된다.
터미널에서 아래 명령을 실행한다.
# catkin workspace로 이동
$ cd ~/catkin_ws

# catkin build takeoff1203

# 패키지 목록에 신규 프로젝트를 추가하기 위해 setup script 실행
$ source ~/catkin_ws/devel/setup.bash
실행
빌드된 예제를 실행하려면 먼저 launch file 설정이 필요하다.
1) launch file 설정
launch file은 다수의 ros 응용 프로그램들을 실행하는데 필요한 설정 파일이며 다음과 같은 내용들을 포함한다.
- fcu_url: 비행제어컴퓨터 (FCC) 연결 정보
<!-- (1) FCC-MC가 serial로 연결된 경우 (실 비행 테스트 또는 HITL) -->
<arg name="fcu_url" default="/dev/ttyUSB0:921600" />

<!-- (2) FCC-MC가 udp로 연결된 경우 (SITL Simulation Test) -->
<arg name="fcu_url" default="udp://:14540@<SITL실행PC주소>:14580" />
- gcs:url: 지상제어SW (GCS SW) 연결 정보
<arg name="gcs_url" default="udp://@<GCS실행PC의IP주소>:14550" />
- 실행될 ROS Nodes
- 각각의 ROS Node 실행에 필요한 parameters 정보
다음은 응용 예제 (takeoff1203)의 launch file 설정 예를 보여 준다.
<launch>
<!-- connection setup -->

    <arg name="fcu_url" default="udp://:[email protected]:14557" />
    <arg name="gcs_url" default="" />
    <!-- <arg name="gcs_url" default="udp://@127.0.0.1:14550" /> -->
    <arg name="tgt_system" default="1" />
    <arg name="tgt_component" default="1" />
    <arg name="my_args" default="" />


    <!-- nodes list -->

    <node name="mavros" pkg="mavros" type="mavros_node" output="screen">
             <param name="fcu_url" value="$(arg fcu_url)" />
         <param name="gcs_url" value="$(arg gcs_url)" />
         <param name="target_system_id" value="$(arg tgt_system)" />
         <param name="target_component_id" value="$(arg tgt_component)" />

         <!--rosparam command="load" file="$(find mavros)/launch/px4_blacklist.yaml"-->

         <!-- enable heartbeat send and reduce timeout -->
         <param name="conn_heartbeat" value="5.0" />
         <param name="conn_timeout" value="5.0" />
         <!-- automatically start mavlink on USB -->
         <param name="startup_px4_usb_quirk" value="true" />
         <param name="mocap/use_tf" value="true"/>
         <param name="mocap/use_pose" value="false"/>
    </node>

    <node name="eDrone_monitor_node" pkg="eDrone_lib" type="eDrone_monitor_node" output="screen"></node>

    <node name="eDrone_control_node" pkg="eDrone_lib" type="eDrone_control_node" output="screen"></node>

    <node name="eDrone_autoflight_node" pkg="eDrone_lib" type="eDrone_autoflight_node" output="screen"></node>

    <node name="eDrone_safety_node" pkg="eDrone_lib" type="eDrone_safety_node" output="screen"></node>

    <node name ="ex_takeoff1203" pkg="takeoff1203" type="ex_takeoff1203" args="$(arg my_args)" output="screen"> </node>

</launch>
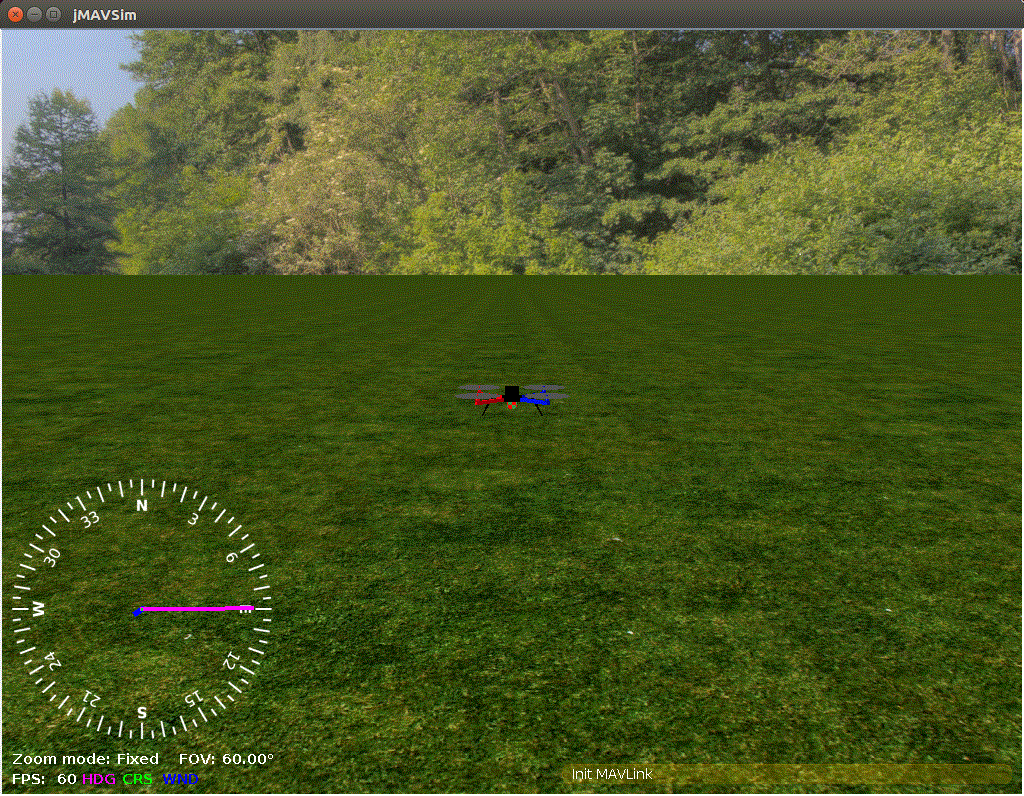
2) (SITL Simulation의 경우) PX4 SITL 실행
SITL Simulation의 경우, PX4 SITL 및 시뮬레이터를 실행한 후에 예제 테스트가 가능하다.
$ cd ~/src/Firmware

# jMAVSim을 사용할 경우
$ make px4_sitl_default jmavsim


# Gazebo를 사용할 경우
$ make px4_sitl_default gazebo
3) QGC 실행
QGC를 이용하여 실 비행 또는 시뮬레이션 테스트 과정에서 무인기 현재 상태/위치를 모니터링하고 상태를 제어할 수 있다.
# AppImage로 설치된 경우, 해당 AppImage가 설치된 위치로 이동 후 실행
$ cd <qgc설치위치>

$ ./QGroundControl.AppImage
4) 예제 실행
roslaunch 명령어를 이용하여 예제 실행
$ cd ~/catkin_ws
$ roslaunch takeoff1203 takeoff1203.launch
5) 결과 확인
% 지상에서 1m 높이로 이륙, 10초 뒤 제자리 착륙